Push-Up Progression for Beginners: A Step-by-Step Guide to Your First Full Rep
Estimated Reading Time: 6 minutes
Key Takeaways
- Elevating your hands on an incline reduces the percentage of body weight pressed, allowing for gradual strength and core adaptation.
- Proper alignment demands a rigid moving plank, neutral spine, and elbows tracking at roughly a 45-degree angle.
- A systematic 5-step progression moves from wall push-ups to high inclines, low inclines, bridge exercises (knee or negatives), and finally standard floor push-ups.
- Consistent training requires 2 to 3 sessions per week using novice ranges of 8 to 12 controlled reps with progressive overload.
Table of Contents
Introduction
If you drop straight to the floor to do a standard push-up and find yourself pinned, you are not alone. A full push-up requires you to press roughly 65 to 70 percent of your body weight while maintaining a rigid plank from head to heels. If your pressing strength or core stability is not quite there yet, trying to grind through reps from the floor usually leads to sagging hips, flared elbows, neck straining, and rapid frustration.
A practical push up progression for beginners solves this problem by changing the angle of your body. By placing your hands on an elevated surface—a wall, a sturdy counter, or a bench—you reduce the amount of body weight you have to press. As your muscles adapt, you lower the height of the surface in gradual stages until you can press from the floor with total control.
Here is how to set up each variation, master your mechanics, and progress safely from your first elevated rep to a set of clean floor push-ups.
The Mechanics of a Clean Push-Up
Before adjusting heights, it helps to understand what a push-up actually demands. Mechanically, the push-up is a horizontal press combined with a moving plank.
The movement primarily engages:
- The chest (pectoralis major): Drives the pressing motion as your arms come inward and forward.
- The shoulders (anterior deltoids): Assists the chest in flexing the shoulder joint.
- The triceps (triceps brachii): Extends the elbows to lock out the top of the movement.
- The trunk and hip stabilizers (abdominals, glutes, quadriceps): Keeps your spine neutral so energy transfers efficiently from your hands to your feet without sagging or piking.
When people struggle with push-ups, the breakdown usually happens in one of two places: the pressing muscles lack the force to push away from the surface, or the core cannot keep the torso rigid. Changing your hand elevation addresses both. Raising your hands shortens the gravitational lever and shifts more weight to your feet, allowing your chest, shoulders, and triceps to move through a full range of motion while your core learns to stay braced.
Foundational Setup and Form Cues
Regardless of which elevation you start with, proper form remains largely identical from the wall down to the floor. Building consistent movement habits early prevents joint irritation and ensures that your strength gains carry over directly to the next stage.
Hand Position and Grip
Place your hands slightly wider than shoulder-width apart. Spread your fingers comfortably and press your palms firmly into the surface. At the bottom of the movement, your hands should sit roughly level with the middle of your chest, not up by your ears or shoulders. Placing your hands too high shifts excessive stress onto the front of the shoulders and promotes shrugging.
Elbow Path
Avoid letting your elbows flare straight out to the sides perpendicular to your torso (forming a “T” shape). Flaring places unnecessary strain on the shoulder joint and reduces chest recruitment. Instead, allow your elbows to track back at a moderate angle, roughly 45 degrees relative to your torso, creating an arrow shape when viewed from above. While an elbow angle around 45 degrees is a widely used cue in beginner form guides, treat it as a comfortable starting zone rather than a rigid rule for every shoulder structure.
Body Alignment
Think of the push-up as a moving plank. Squeeze your glutes, brace your abdomen as if bracing for a light tap, and keep a straight line from the back of your head down through your hips to your heels (or your knees, if performing knee variations). Do not let your head drop forward to reach for the floor early. Keep your chin tucked slightly so your neck stays neutral.
The 5-Step Beginner Push-Up Progression
There is no single universally mandated sequence for push-up training, but the most reliable approach starts with the highest incline that allows clean reps and lowers the angle over time. Work through these steps in order, only advancing when you meet the volume targets outlined in the programming section below.
Step 1: Wall Push-Up
         │
         ▼
Step 2: High Incline (Kitchen counter / sturdy table)
         │
         ▼
Step 3: Low Incline (Gym bench / secure step)
         │
         ▼
Step 4: The Bridge (Floor negatives or knee push-ups)
         │
         ▼
Step 5: Full Floor Push-Up
Step 1: The Wall Push-Up
The wall push-up is the best starting point if you have never done resistance training, are returning from a long layoff, or find lower inclines uncomfortable on your joints.
- How to do it: Stand facing a flat wall, about arm’s length away. Place your palms flat against the wall around chest height, slightly wider than your shoulders. Step your feet back a few inches so your body leans slightly forward. Keeping your body in a straight line, bend your elbows to bring your chest toward the wall. Pause for a second just before your forehead or chest touches, then press through your palms to return to the starting position.
- Why it works: It requires only a small percentage of your body weight, letting you learn elbow tracking, hand placement, and trunk bracing without overloading your shoulders or wrists.
Step 2: The High Incline Push-Up
Once the wall feels light and effortless, move to a high incline. A standard kitchen countertop (roughly 36 inches high) or a sturdy, non-slip table works well for home practice.
- How to do it: Place your hands on the edge of the surface slightly wider than shoulder-width. Walk your feet back until your body forms a straight diagonal line from head to heels. Come up onto the balls of your feet. Brace your core, lower your chest until it lightly touches or hovers just above the edge of the surface, then press firmly back up to full arm extension without locking your elbows aggressively.
- Common pitfall: Letting your hips sag toward the counter before your chest reaches it. If your hips touch first, step your feet slightly closer or tighten your glutes and abs to restore alignment.
Step 3: The Low Incline Push-Up
A lower incline—such as a weight bench, a sturdy coffee table, or the second or third step of a staircase (around 12 to 18 inches high)—significantly increases the pressing load while keeping the full-body plank intact.
- How to do it: Set up with your hands gripping the edge of the bench or step. Keep your shoulders pulled slightly down away from your ears. Lower with control over two to three seconds until your lower chest touches the edge. Pause briefly without resting your weight on the bench, then drive your hands into the surface to press back up.
- Why this matters: Low inclines replicate the exact core tension and shoulder stability required on the floor. Mastering this step is often the most reliable predictor that a floor push-up is within reach.
Step 4: The Bridge to the Floor (Knee Push-Ups vs. Floor Negatives)
Before jumping straight into full floor repetitions, you have two practical bridge options: knee push-ups and floor negatives (eccentric push-ups). You can use either or combine both.
Option A: Knee Push-Ups
Knee push-ups shorten the physical lever of your body by supporting your lower weight at the knees rather than the toes.
- Execution: Start on your hands and knees on a comfortable mat. Walk your hands forward until your body forms a straight line from your head to your knees. Cross your ankles or keep your lower legs flat against the floor—whichever feels more stable. Lower your chest to the floor and press back up.
- Trade-offs: Knee push-ups reduce pressing resistance effectively, but they do not fully mimic the core and ankle stability required in a full toes-down plank. While commercial fitness sites sometimes cite specific muscle-activation percentages for knee push-ups, these claims are often drawn from narrow, unverified data sets. Treat knee push-ups simply as a useful pressing builder rather than an identical substitute for a full push-up.
Option B: Floor Negatives (Eccentric Push-Ups)
Your muscles can handle more load when lowering (eccentrically) than when pressing (concentrically). Floor negatives exploit this strength difference to prepare your body for full floor reps.
- Execution: Assume a full, rigid plank on your toes with hands on the floor. Lower yourself as slowly and smoothly as possible—aiming for a controlled 3 to 5-second descent—all the way down until your chest rests flat on the floor. Instead of pressing back up from your toes, drop your knees to the ground, push back up into your starting plank, and reset.
- Why it works: Negatives expose your chest, shoulders, and core to the full resistance of a standard push-up without forcing an awkward or compromised concentric press at the bottom.
Step 5: The Full Floor Push-Up
When you transition to standard push-ups, prioritize technical precision over high repetition numbers.
- Execution: Place your hands on the floor just outside shoulder-width, fingers spread, feet together or hip-width apart. Brace your whole body into a solid plank. Lower your chest smoothly until it hovers an inch off the floor (or lightly grazes it) while your elbows track back at roughly 45 degrees. Drive through your palms, maintaining a rigid spine, until your arms return to full extension.
- Initial strategy: Begin by doing single, perfect repetitions. Perform one rep, reset for a few seconds, and perform another. Quality at this stage builds the neural efficiency needed to string reps together later.
Programming: Sets, Reps, and When to Advance
Building strength requires progressive overload: challenging your muscles slightly more as they adapt. General resistance training guidelines from the American College of Sports Medicine position stand support working in novice rep ranges of roughly 8 to 12 repetitions and adjusting load as performance improves.
While that position stand covers resistance training broadly rather than prescribing a push-up-specific protocol, the same overload principles apply to bodyweight progressions.
Weekly Frequency
Practice your push-up progression two to three non-consecutive days per week (for example, Monday, Wednesday, and Friday). Pressing muscles and connective tissues need rest between sessions to adapt and recover.
Repetition Targets
For any given variation, aim for:
- Volume: 2 to 3 sets per session.
- Reps: 8 to 12 controlled repetitions per set.
- Effort: Stop each set with 1 to 2 “reps in reserve” (meaning you could have completed one or two more reps with good form, but stopped before your technique deteriorated).
Practical training guidance outlined in beginner push-up progression resources suggests using a benchmark of three sets of 12 clean repetitions with a small reserve of effort as a reliable rule of thumb for advancing to a lower surface. Treat this as a helpful benchmark rather than a strict requirement; some lifters do well advancing when they can manage three sets of 8 to 10 reps cleanly.
Rest Periods
Rest sufficiently between sets so fatigue does not compromise your posture. A rest window of 60 to 90 seconds works well for lighter inclines, while harder variations or near-floor sets may require up to two minutes of rest to maintain technical consistency across all sets.
Progression Example
Below is an example of how a beginner might progress over several weeks using consistent overload principles:
| Stage | Target Movement | Target Volume | Progression Trigger |
|---|---|---|---|
| Phase 1 | High Incline (Countertop) | 3 sets of 8–12 reps | Move lower when you can complete 3 sets of 12 with clean form. |
| Phase 2 | Low Incline (Sturdy bench) | 3 sets of 8–12 reps | Move to floor work when 3 sets of 10–12 feel smooth and controlled. |
| Phase 3 | Floor Negatives / Knee Reps | 3 sets of 5–8 slow reps | Attempt full floor reps when negatives show zero shaking or hip drop. |
| Phase 4 | Full Floor Push-Ups | 3 sets of 3–6 reps | Gradually build volume toward 8–10 continuous floor reps. |
Note: Individual progression timelines vary widely based on body composition, previous training history, and joint comfort. Avoid forcing a schedule based on a fixed calendar.
Troubleshooting Form Errors and Discomfort
Small mechanical adjustments can often resolve common sticking points or localized joint strain.
1. Sagging Hips or Arched Lower Back
- The Cause: Weak abdominal bracing or fatigued glutes, causing the pelvis to tilt forward and the lower back to take the strain.
- The Fix: Squeeze your glutes tightly before initiating the descent and pull your belly button slightly inward toward your spine. If your hips continue to collapse, the incline is too low for your current core capacity. Elevate your hands to a higher surface to build endurance in the plank position first.
2. Flared “T-Rex” Elbows
- The Cause: Placing hands too far forward or relying entirely on internal shoulder rotation to push.
- The Fix: Pull your shoulders down away from your ears before descending. Imagine “screwing” your palms into the floor or surface—turning your right hand clockwise and your left hand counterclockwise—to create stable external rotation at the shoulder joint, as recommended in home progression coaching guides. This naturally tucks your elbows closer to a 45-degree angle.
3. Wrist Discomfort
- The Cause: Full push-ups require roughly 90 degrees of wrist extension under load, which can irritate stiff or sensitive wrist joints.
- The Fix:
- Perform incline push-ups by gripping the edge of a sturdy surface or bench with a neutral wrist rather than pressing a flat palm against a surface.
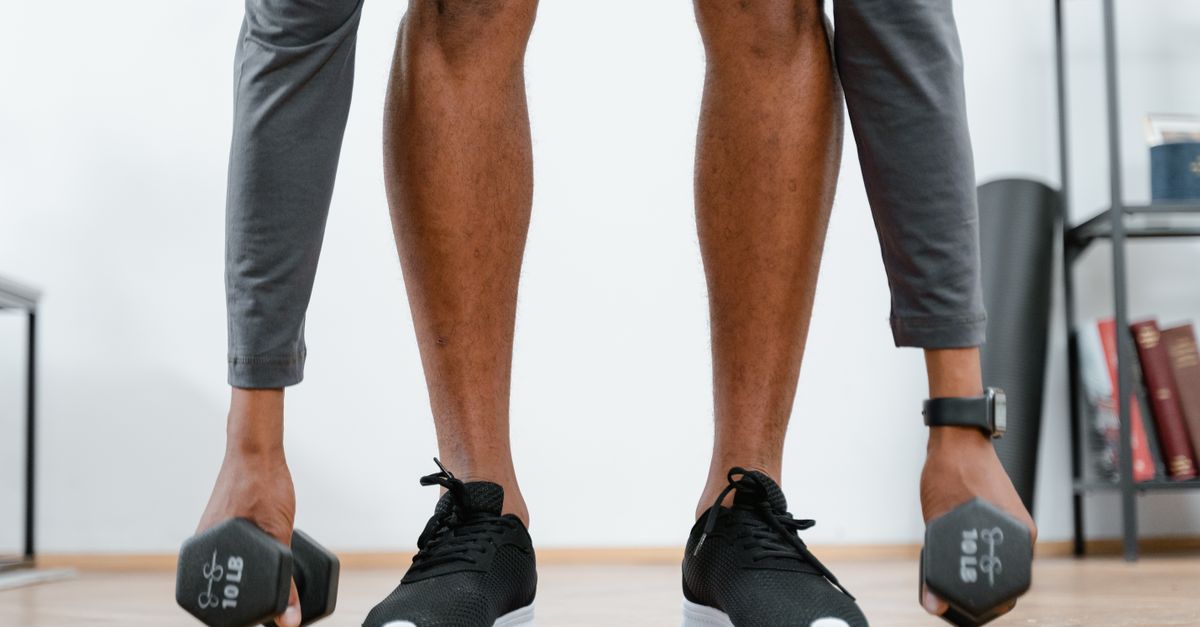
- On the floor, use a pair of hex dumbbells or dedicated push-up handles to keep your wrists straight.
- Alternatively, perform push-ups on your knuckles on a padded mat.
4. Neck Craning
- The Cause: Reaching your head toward the floor to create the illusion of greater depth.
- The Fix: Pick a spot on the floor roughly six to twelve inches ahead of your fingers and keep your eyes fixed there. Your chest, not your nose or chin, should be the first part of your upper body to approach the surface.
Safety Considerations
Always choose a completely stable, non-slip base for incline work. Never use light chairs, wheeled furniture, or unstable boxes that could slide out from under you mid-rep.
If you experience sharp, pinching pain in your shoulders, elbows, or wrists, stop the movement immediately. While mild muscular fatigue and slight post-exercise soreness are normal adaptations to strength training, sharp joint pain is not. Adjust your hand position, reduce your range of motion, or return to a higher incline. If joint pain persists, seek personalized guidance from a qualified physical therapist or healthcare clinician before continuing push-up training.
Your Next Step
Do not wait for perfect conditions to get started. Find a stable surface right now—whether that is an empty wall in your hallway or a sturdy kitchen counter—and test out a single set of five controlled reps with deliberate form. Pay attention to how your body aligns and how your shoulders feel. Once you identify the height where you can complete eight clean repetitions with a bit of effort to spare, you have found your starting baseline. Commit to practicing three sets at that height every other day, and let steady progression handle the rest.
Frequently Asked Questions
How long does it typically take to achieve a first full push-up?
Progress depends largely on current baseline strength, core endurance, and body composition. For many consistent beginners training two to three times per week, moving from high inclines down to a complete floor repetition takes anywhere from 4 to 8 weeks.
Are knee push-ups better than incline push-ups?
Incline push-ups are generally preferred over knee push-ups because they train the full-body rigid plank from head to heels. Knee push-ups reduce pressing weight but remove significant core and lower-body stability demands required for floor push-ups.
Should I practice push-ups every single day?
No. Muscles, tendons, and ligaments adapt and rebuild during recovery. Training 2 to 3 non-consecutive days per week provides adequate stimulus while preventing overuse injuries in the shoulders and wrists.
What should I do if my wrists hurt on the floor?
You can alleviate wrist pressure by holding hex dumbbells, using elevated push-up handles, or performing reps on your knuckles over a soft mat to keep your wrists in a neutral alignment rather than in deep extension.